

by: Tinbender59
Thanks to: Lextech
Nov. 13, 2011
Please read the disclaimer page
Please visit our FORUM. All discussion, questions and comments about this article are welcome.
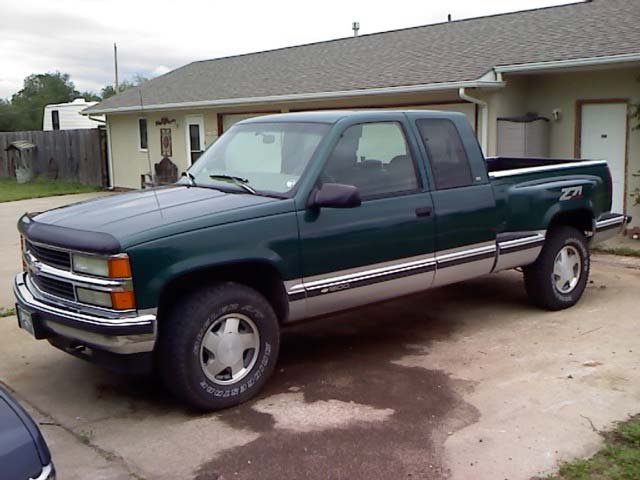
The purpose of this is to explain in greater detail the process that I went through to install a 1996 WS6 LT1 into my 1997 K1500 4X4 pickup. My truck:
After I obtained the LT1, I did a lot of research as I normally do when I am prepping for a conversion. The idea is to find the best result for the least amount of money. Through my research I found that the LTX series motors are a beast in a league all of their own. There were no good options for the OPTI as I found that the OPTI spark distributor system to be lacking at its best. Poor design, worse location and botched execution of a superbly advanced system. The OPTI is light years ahead of itself, but it was destined to go down in history as bad technology, due to bad engineering. I did find that the LT1 had the same cam to oil pump system as the early SB Chevy motors, then I found where an outfit in California had pioneered a distributor to replace the OPTI, but alas, they were no longer in business. So I had to reverse engineer the manifold. With the help of Aaron King of King Precision Machine Inc, we were able to re-engineer the mod allowing this conversion to succeed. I looked at the 24x system, but it is, in my opinion, overpriced, and overly complex for a daily driver, but what do I know???
Through my research I ran across this genius, LEXTECH, and his knowledge of the 411. I contacted LEXTECH about the repining info for installing the 411 into my 1997 truck, while talking to him I found out that he also could provide me whit the ECU with a base start and run tune in it. The repining process is incredibly easy if you take one wire out of the factory connectors, and then place it into the new connector, ONE WIRE AT A TIME...(Hint:ONE WIRE AT A TIME!!!) Print the re-pin sheet out then mark off the wires as you complete their move.
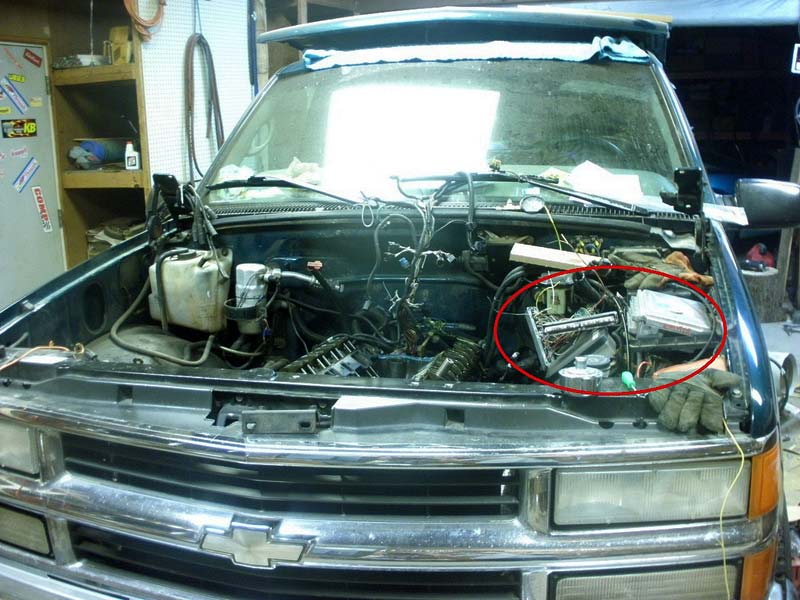
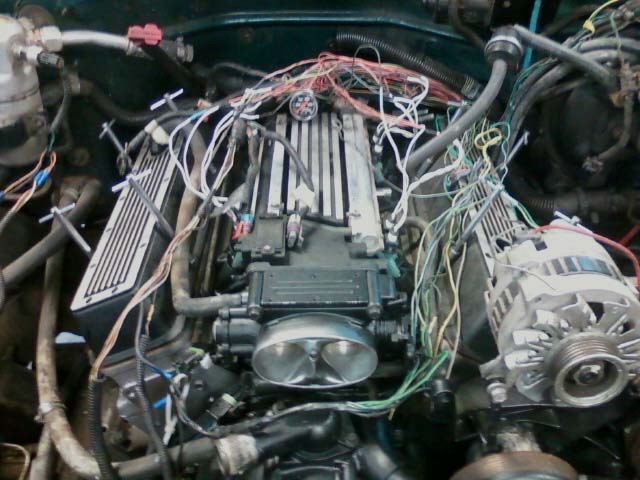
If I were starting this LT1 swap from scratch, I would go to the local pull apart and obtain an under hood Vortec harness from a ’96 to ’98 Chevy V8 pickup it is an almost perfect fit for this mod. To pull this off, the Map, IAC, TPS, and ECU temp sensor wires all needed to be extended to fit the LT1 intake manifold layout. I had to cut the CPFI injector plug off, then obtain a set of 8 Bosh type I injector connectors to wire into the harness in place of the CPFI, you will have to extend them quite a bit wait until you put the motor into the truck to install this paragraphs work.. You have to pay attention to the injector number / wire color or you will be out of sequence with your injector firing order.
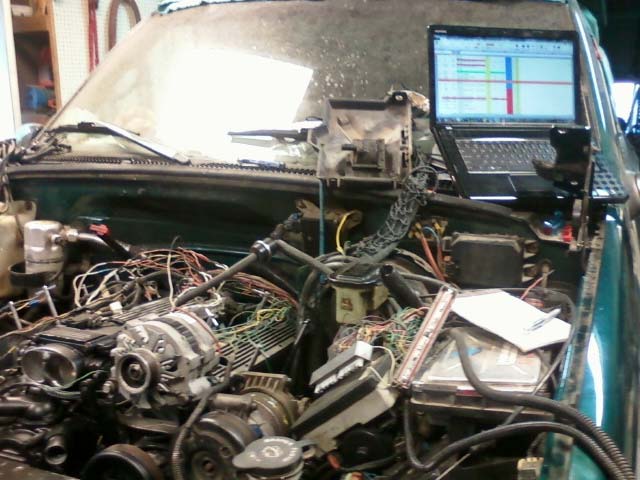
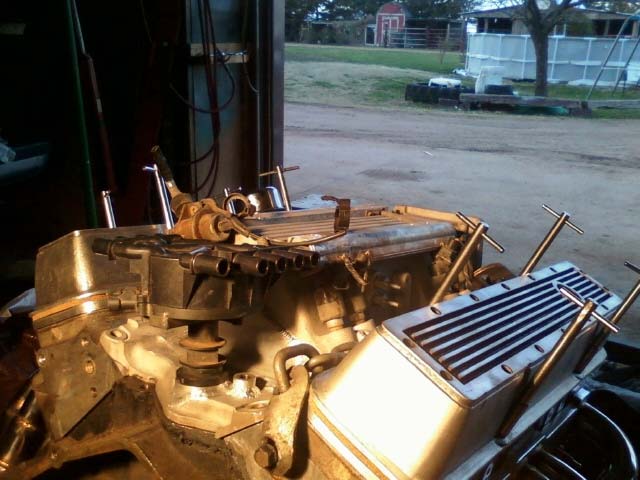
You will notice LEXTECH's wiring spreadsheet on the laptop
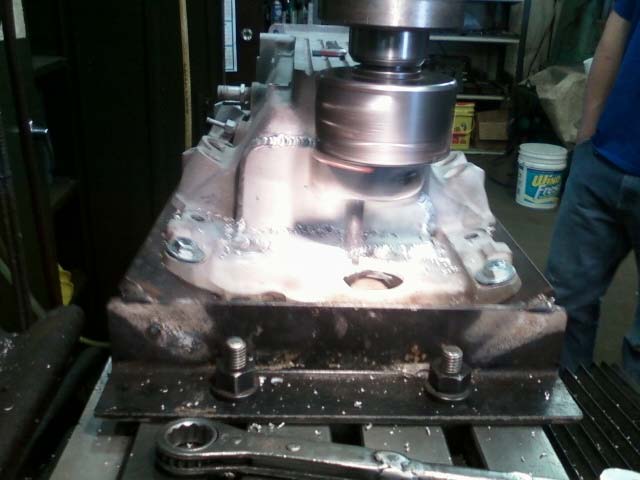
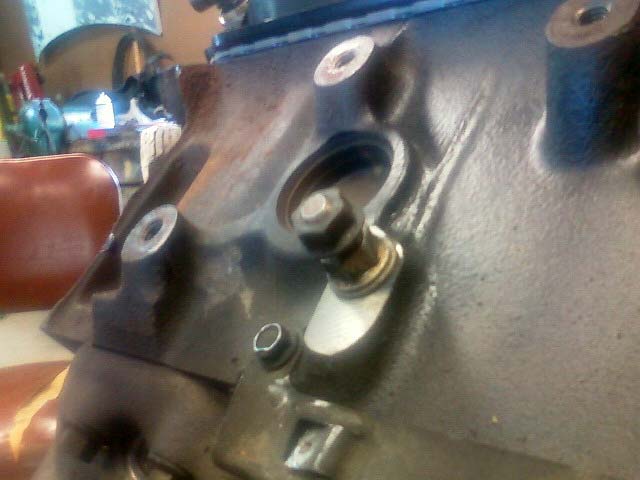
I was able to contract with Aaron of King Precision Machine Inc to do the “one off” work that I needed done on the manifold, for the small price of $250, you can get yours done by him as he now has a jig to build these up for us. All of the EGR system was milled off the resultant holes were blocked off, and then a distributor sleeve was mounted and welded into the correct location. I had to remove the “short oil drive shaft” out of the block. After which I was able to install the Vortec distributor that is at the heart of this conversion. Used Vortec plug wires.
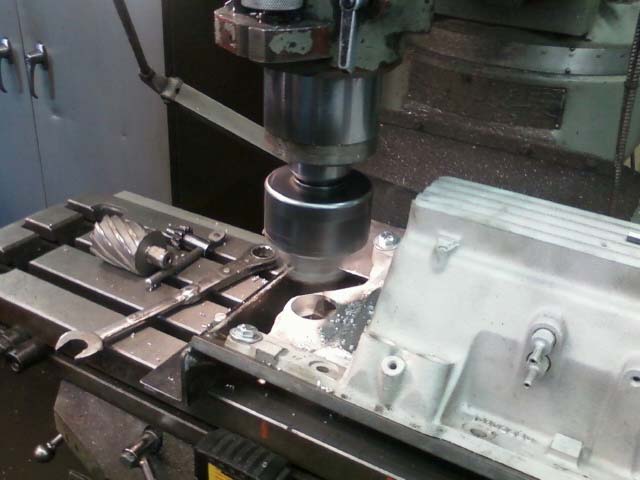
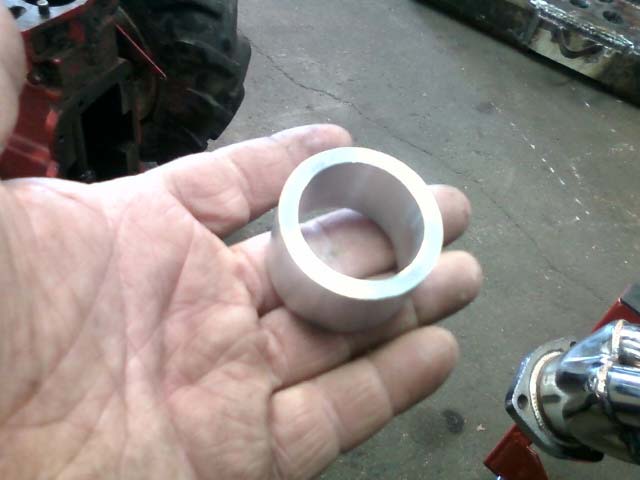
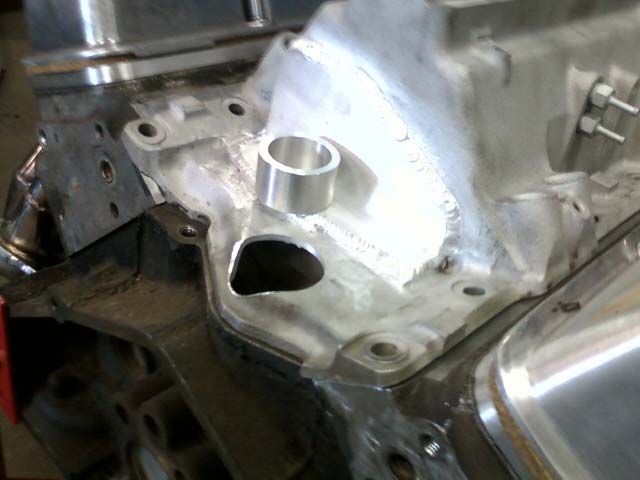
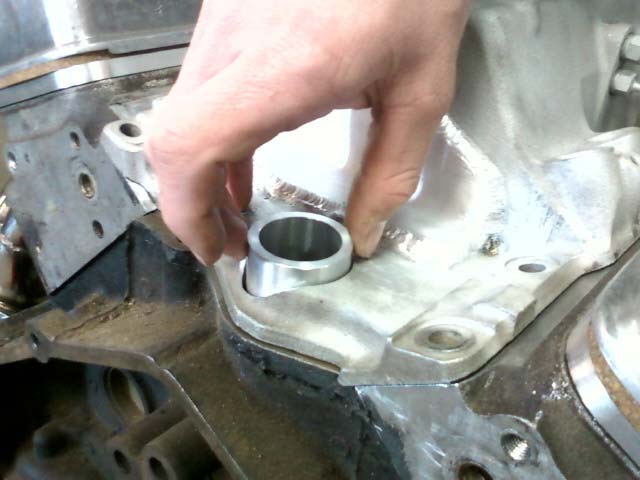
Since the Distributor issue had been solved, the OPTI-Never-Spark issue had to be dealt with. I did find that a Dorman freeze plug was the perfect size to fit into the hole that was vacated when the OPTI was ejected, 2.88”. A little silicon around the inner surface of the timing cover and drive the plug in place with the cup “in” to the motor. While we are on the subject of the timing cover, you will need the 1996 or 1997 LT1 cover to facilitate the 4X reluctor and sensor for crank position sensing. I am working on a way to modify the other years to accept a sensor of some kind; as the 1996-7’s are getting harder to find in the pick-apart yards.
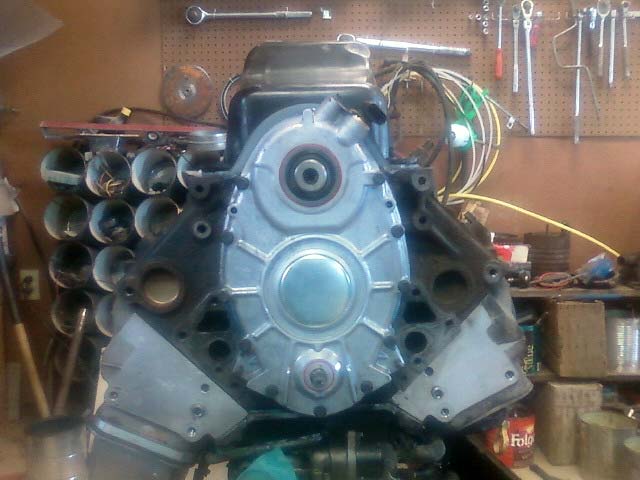
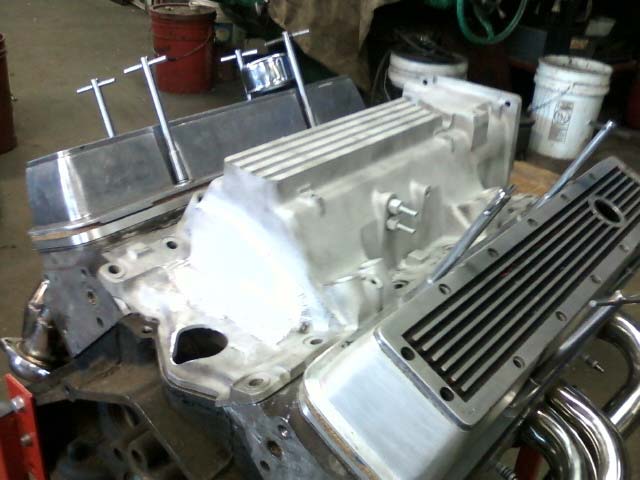
Resealing the entire motor is just good sense. While I am in the vicinity, I will always replace the oil pump if I can see it. I had to repair the LH motor mount boss as it was broken in the young bird’s life changing impact.
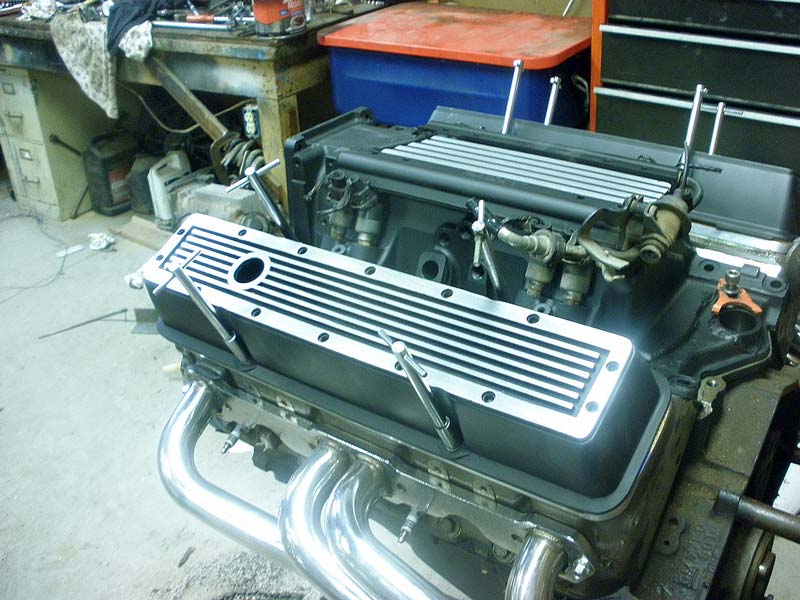
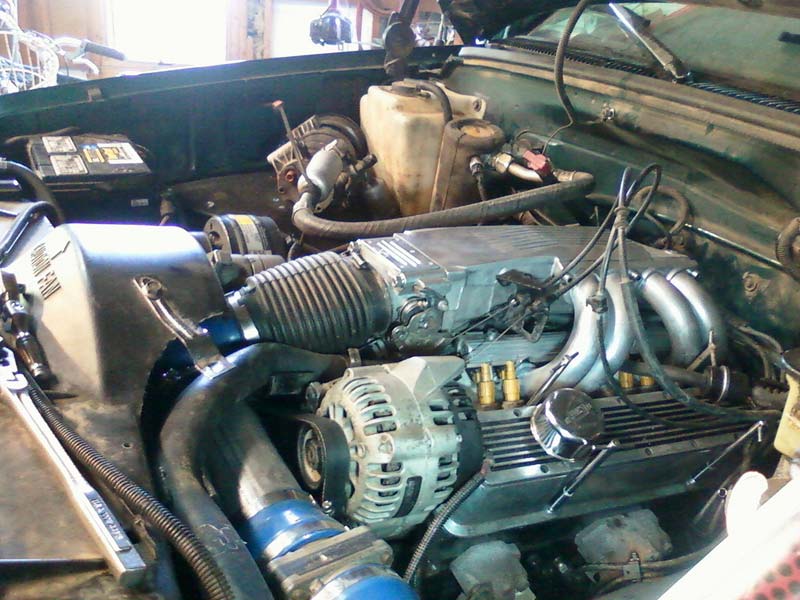
I was then able to install the Vortec motor mount clamshells’ onto the LT1 block, and set the motor into the truck, everything fit perfectly.
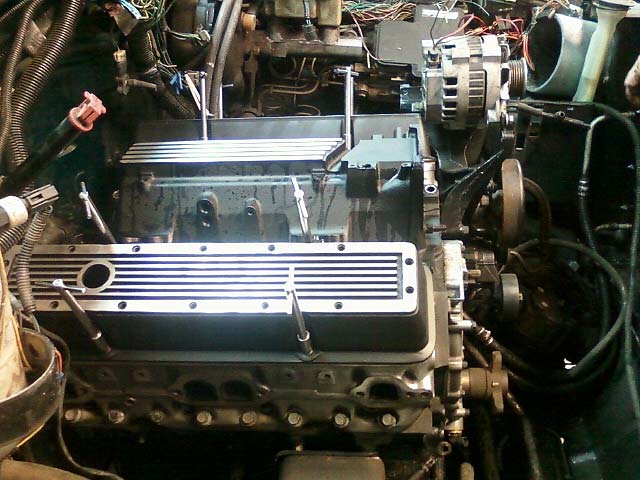
Ordered a set of S/S headers for a 1994 K1500 $135 delivered off of --- yup you guessed it “Flea Bay” there is no EGR tube on these years; and Yes the ports did not match perfectly, but it is survivable for my purpose. They did mount up to the motor and fit the Y pipe as if it was made for them. A word of advice, install your plugs before you install the headers; and know they have to come out to change the plugs, I used Bosh Platinum Plus, they are good for 100k. I also wanted to use my ELDO signature series Valve covers (they were a gift from my youth group kids several years back) this required the purchase of a set of center bolt adaptors. And some semi flat black paint, it all flows together so well, I wanted the old school Black Crinkle paint, but?? Oh well
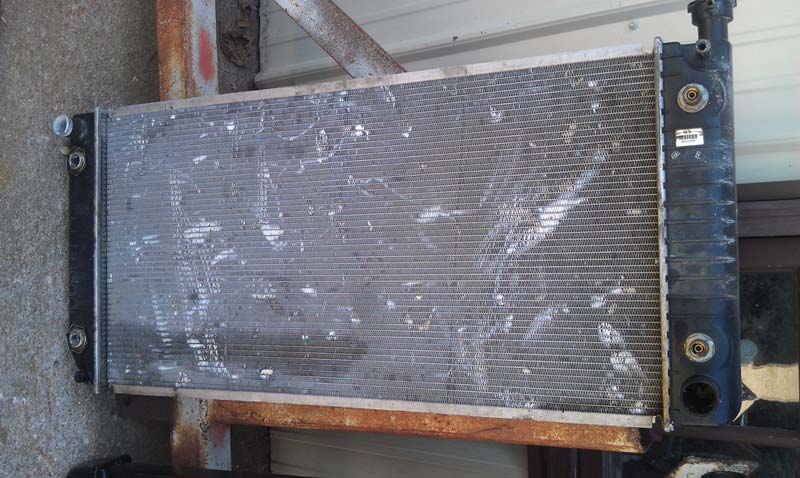
Since this is a reverse flow cooling motor I had to work out the radiator and heater flows; I ended up acquiring a 1982 4 core HD diesel radiator. The 1 ¾ hose connection was lowered down farther into the water tank (used the hole left after the oil cooler was removed). This fitting was so high in the tank that it would suck air into the water pump “that was a bad thing” this caused the water pump to become a pretty decoration instead of a pump .
the lower tank is modified
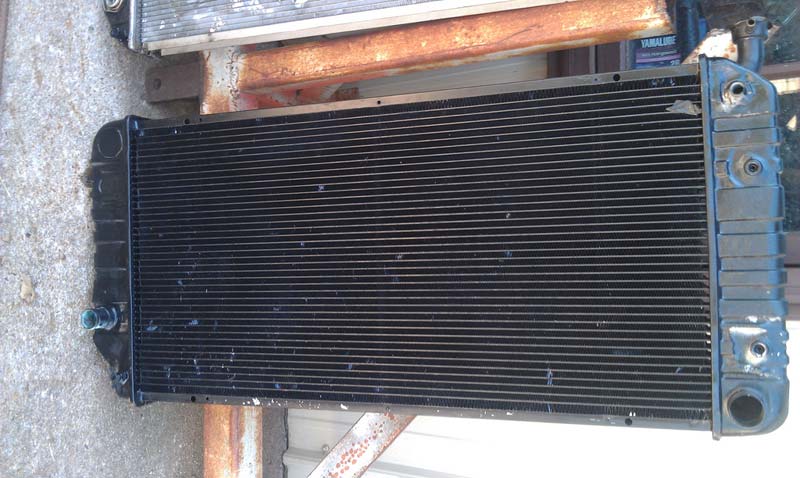
stock 5.7 tank
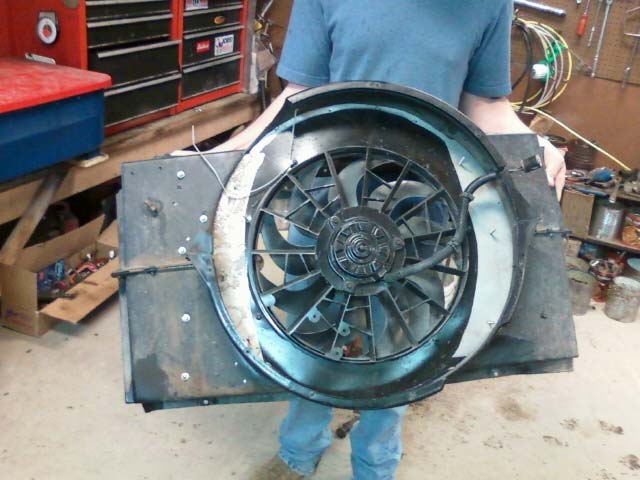
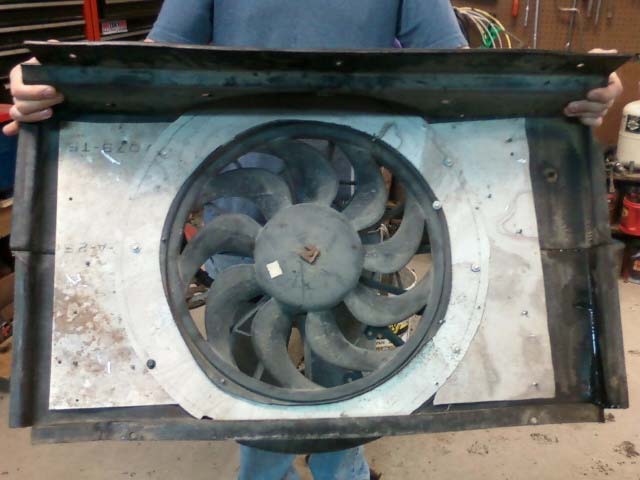
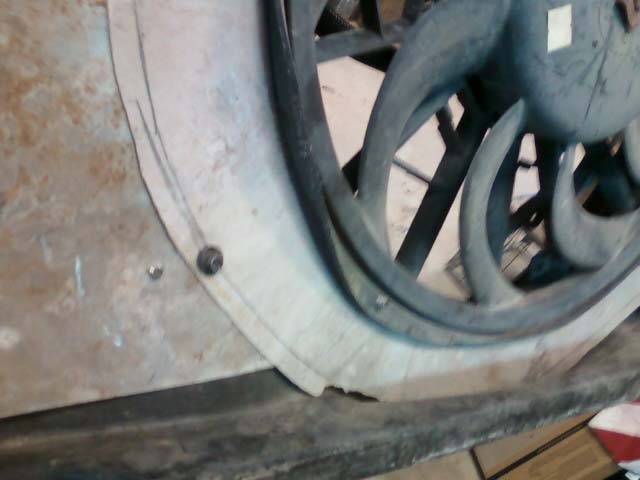
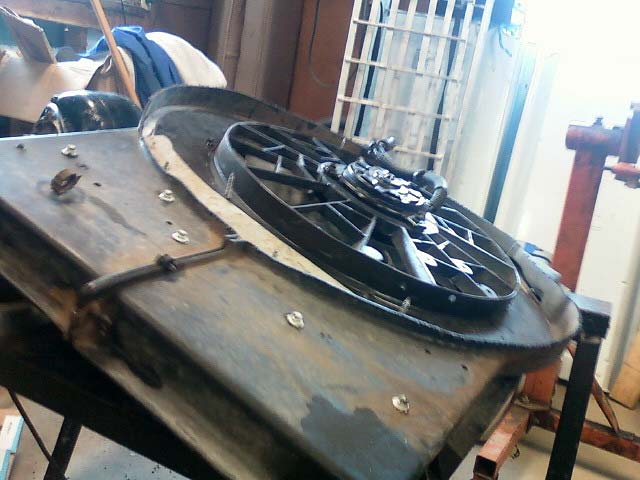
Next came the electric fan, I wanted a two speed fan for the ability to have a slow speed that does not kill my alternator trying to keep up, but did have a high speed for the occasional intense use situations. I cut about 2 ½ inches off of the lip of the stock shroud, just to give more space between the shroud and the motor. I then cut some .090 aluminum sheet to fit inside of the radiators “flat sides” mounted it with some 3/16” sheet metal screws. A purchased a Taurus fan and shroud off of Flea Bay, cut most of the shroud off of it. Set it on the aluminum that is now mounted to the truck shroud, marked the sheet metal, cut the mounting hole for the fan to fill, and mounted the fan with sheet metal screws. It is not the prettiest but it works well.
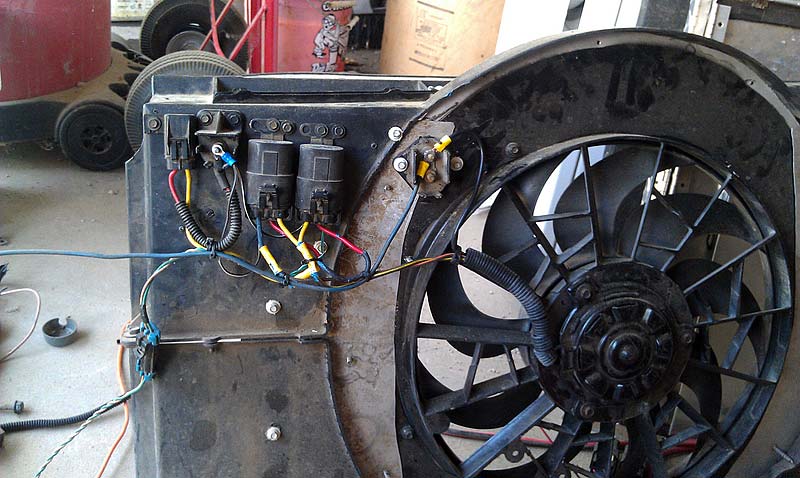
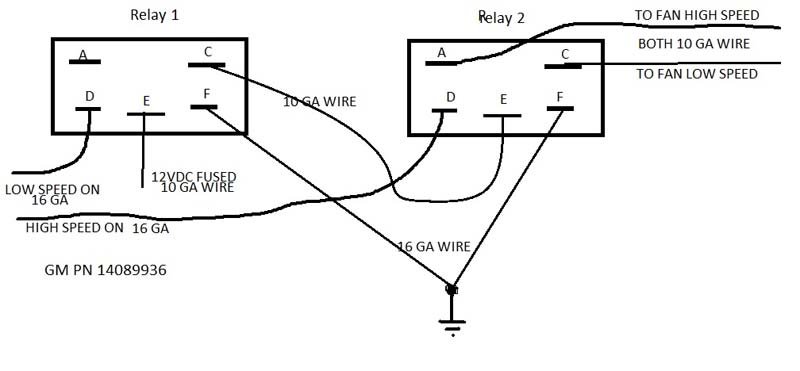
Here is the dual relay system
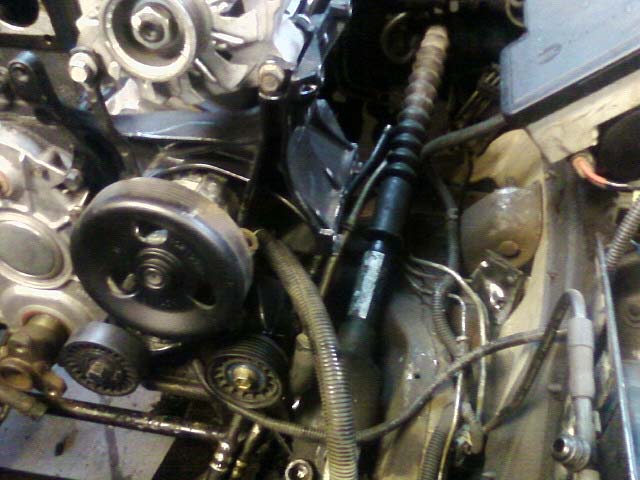
To set up the accessories required a “VETTE” system as the AC compressor is mounted high on the LH side, instead of cutting the frame to accommodate it on the RH side (F-body accessories mounting system), But be advised that the short harmonic balancer adaptor and a VETTE harmonic balancer is needed for this system. The PS hose is a by-gosh and by- golly endeavor at best, but doable with some slight tweaking.
To simplify the fuelling; I maintained the stock LT1 fuel pressure rails lines, and regulator, purchased 27lb injectors, I then cut the stock Vortec fuel lines off just below the hard line fittings at the firewall. I procured two sets of Brass compression ring fittings with barbed hose fittings. Installed one set on the cut lines, and the other set on the LT1 fuel lines with high pressure fuel hose ran between the two; and of course fuel line clamps, not to be mistaken for regular hose clamps.
I did have to build my own throttle and cruise cable mount, simply cut up the LT, and the Vortec brackets, and married the two.
The last item was a cold air intake system; I originally I had a TPI in the truck, and utilized the left head light location
a good picture of the TPI.
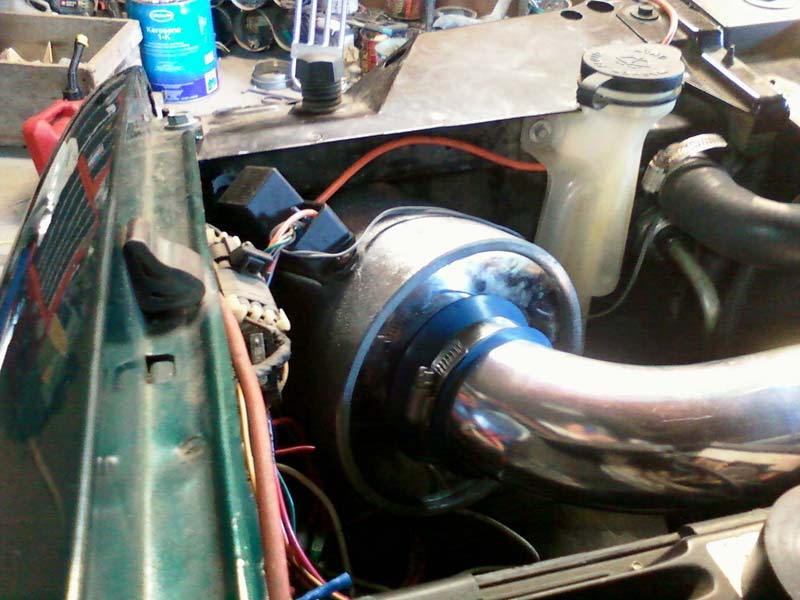
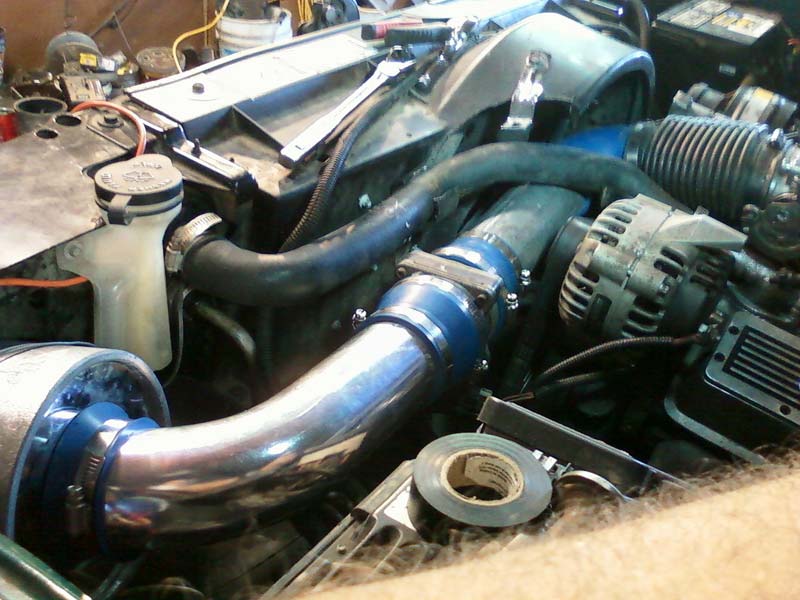
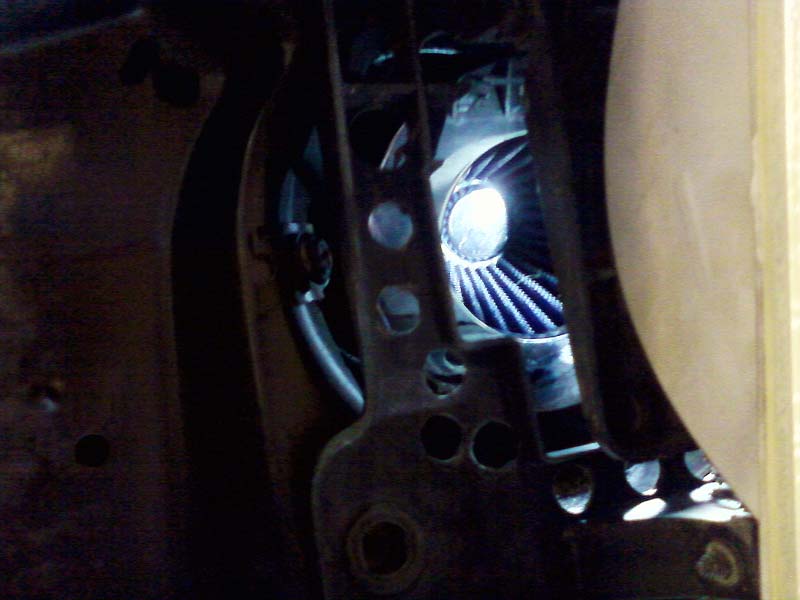
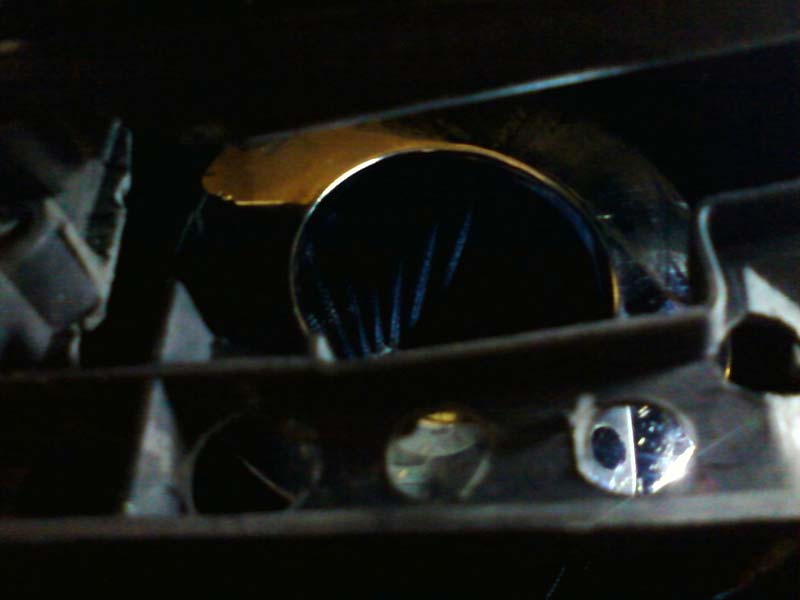
With the LT1; the accessories were in the way to go to the left side. So I preformed the same process to the right side. Removed the head light assembly to facilitate cutting, and to modify the headlight assy. I had to relocate the battery to the driver’s side to make room for the air filter housing, a 10 inch piece of 5 inch PVC pipe, the cone filter fits perfectly, nice and tight inside the PVC. Took the PVC pipe cut one end at a 11 degree angle, placed it against the back side of the radiator support, marked the front of the support for cut out. I then mounted the PVC to the radiator support and installed the filter.
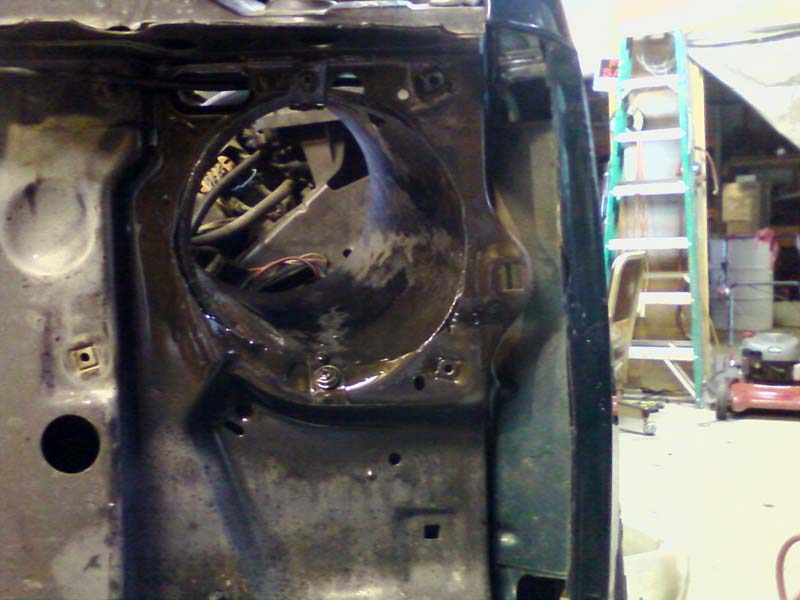

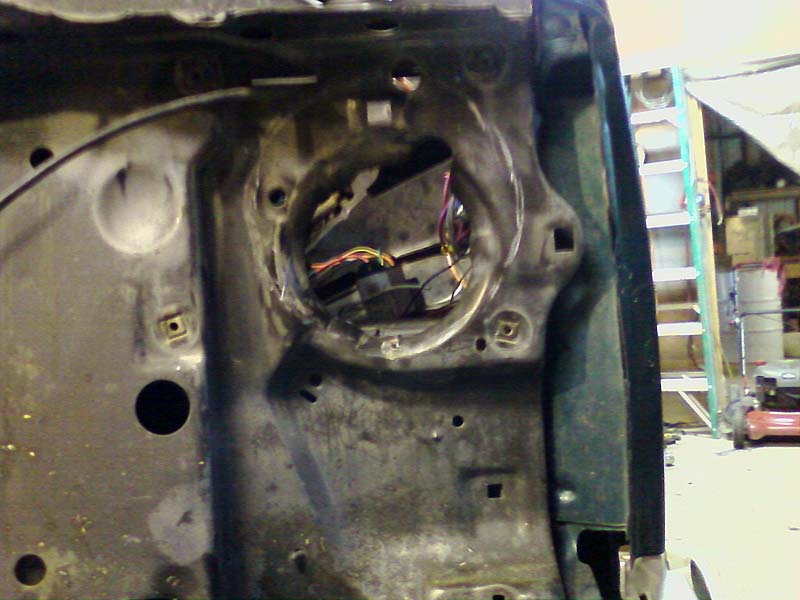
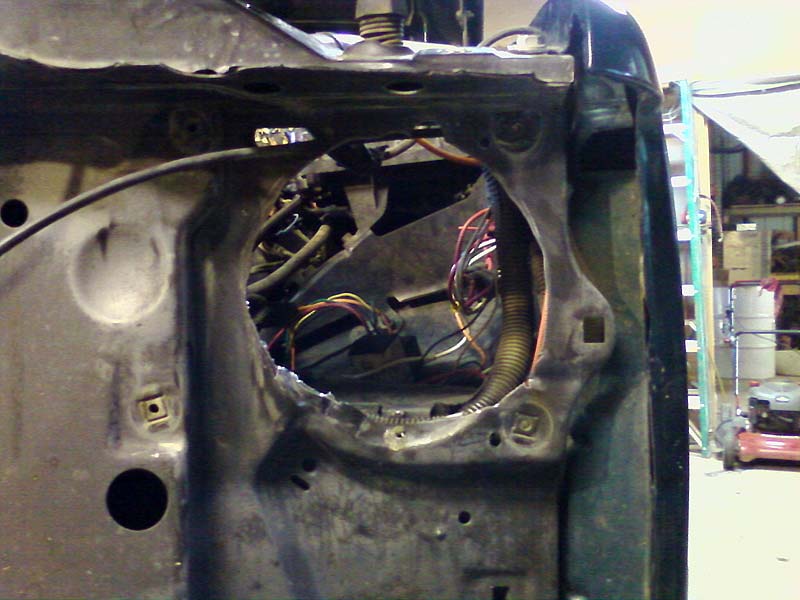
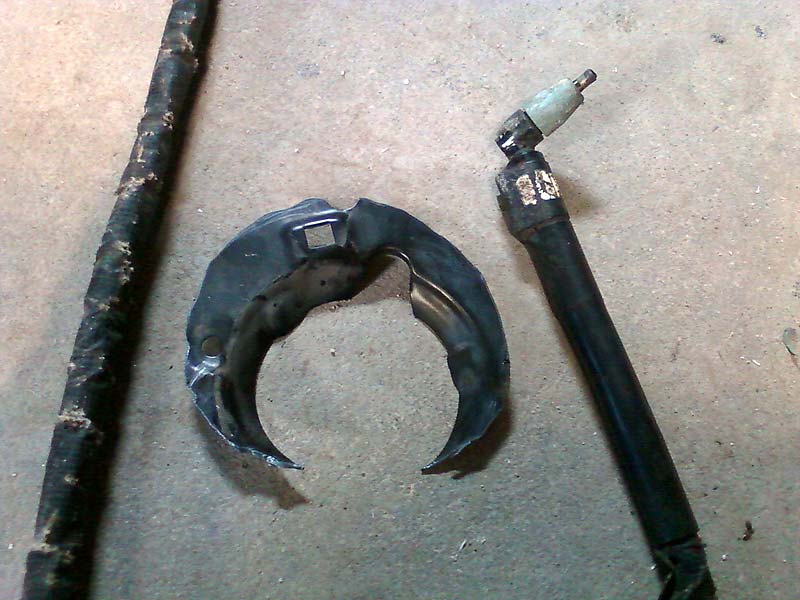
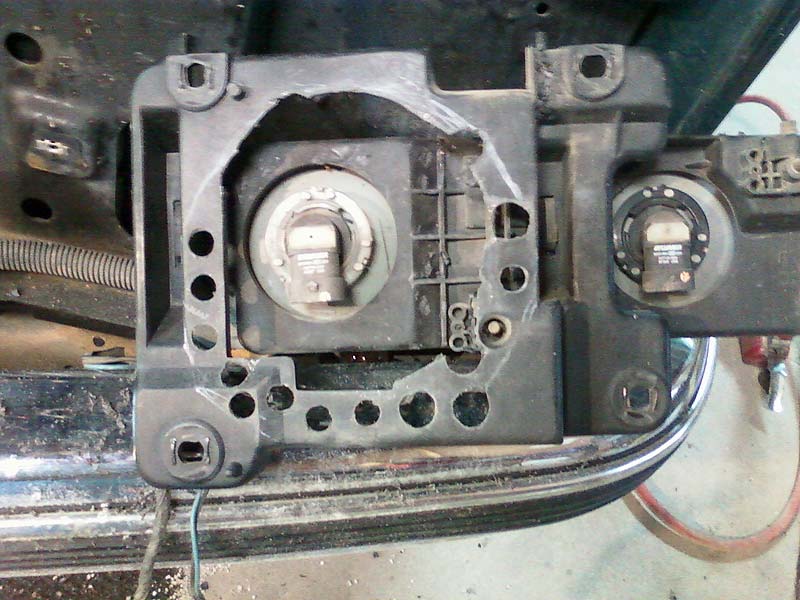
The head light modification; I removed everything that I possibly could without destroying the structural integrity of the mount, to allow the maximum amount of air to pass through to the beast behind.
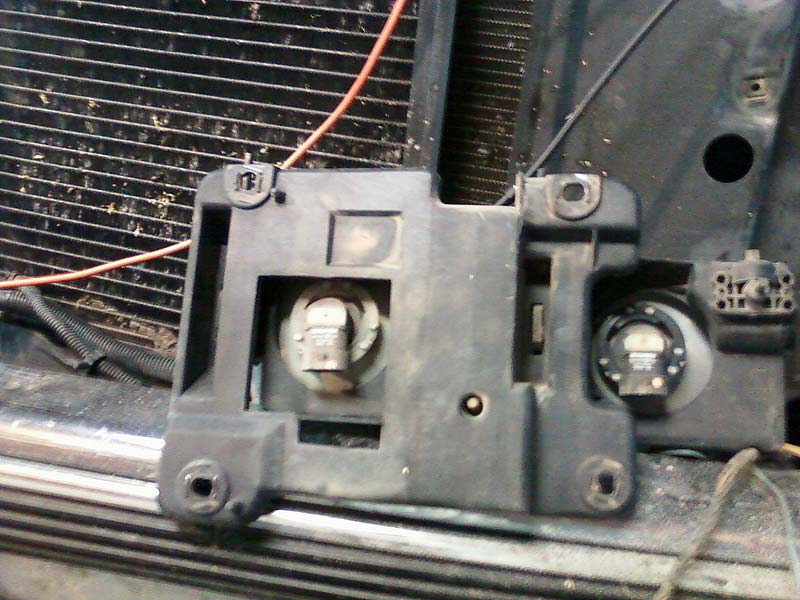
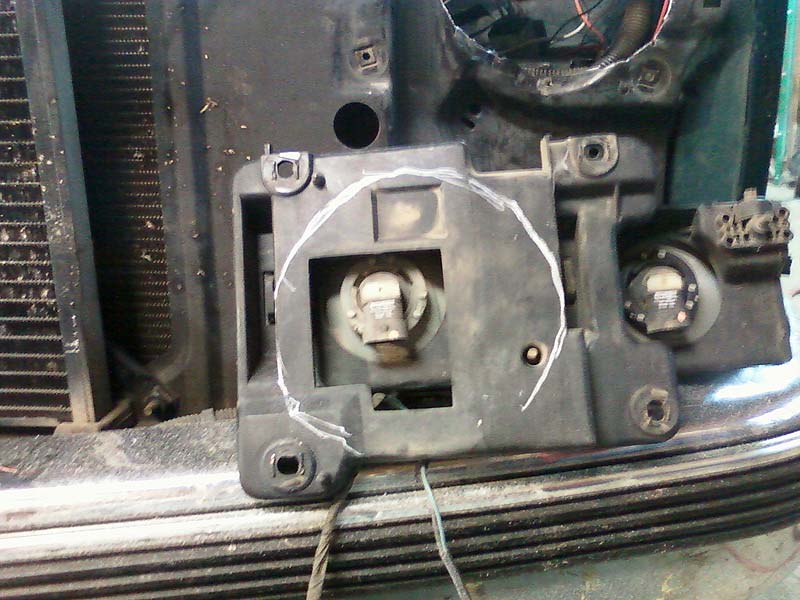
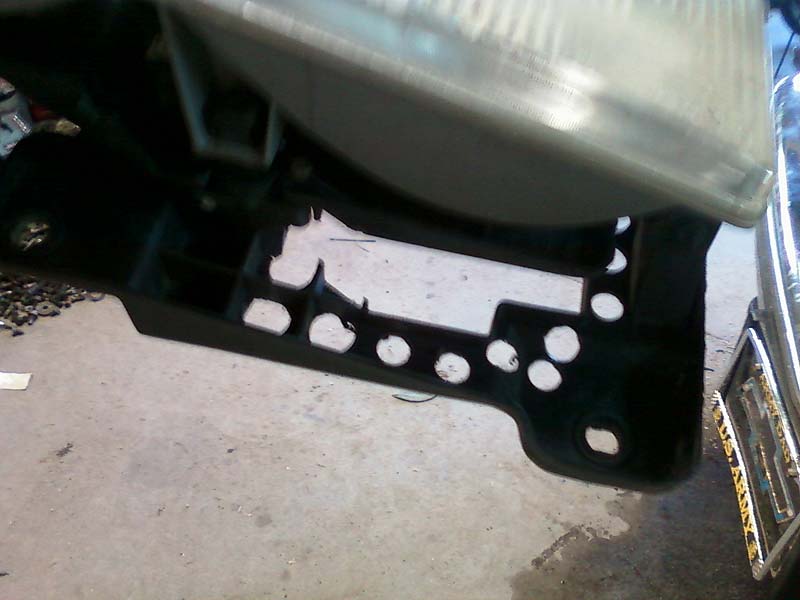
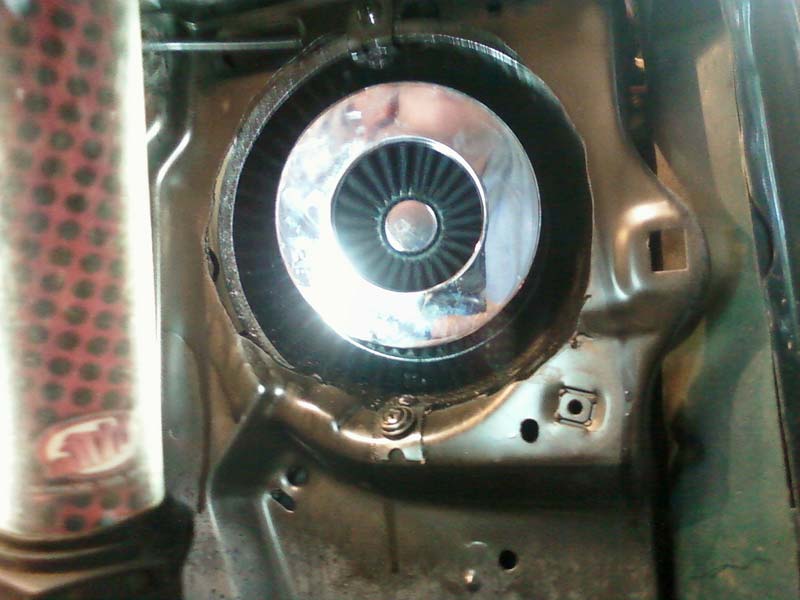
 After reinstalling the headlight assy, this is what you see behind it
I put the front of the truck back together, then it was time to do the first start up and wringing out the small little gotchas. After a few failed attempts to light it off I sprayed carb-cleaner in the intake, it would run as long as I maintained the can. I checked the fuel pump, it was coming on and building pressure, but no pressure registering on the gauge???? Retraced the fuel lines and found that I had swapped the hoses from the firewall to the Rails, thus applying pressure to the back side of the regulator…I R Smart. Other than a blown ECM 2 fuse all was well, she was ready to make her madden voyage, all went well for an out of the box start and run tune. I could tell that it was either fat or lean, but ran fairly well. My hat is off to LEXTECH for the outstanding program that he built for this truck, the 4x4 fuelling even worked right.
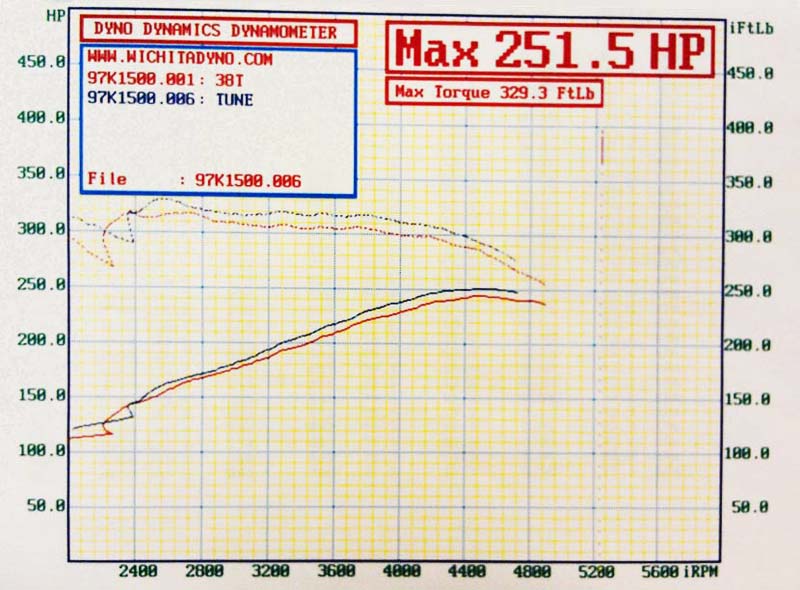
Took it to the Dyno to be tuned, first pass was 240.9HP and 316lb/tq Nice Job LEX!!,
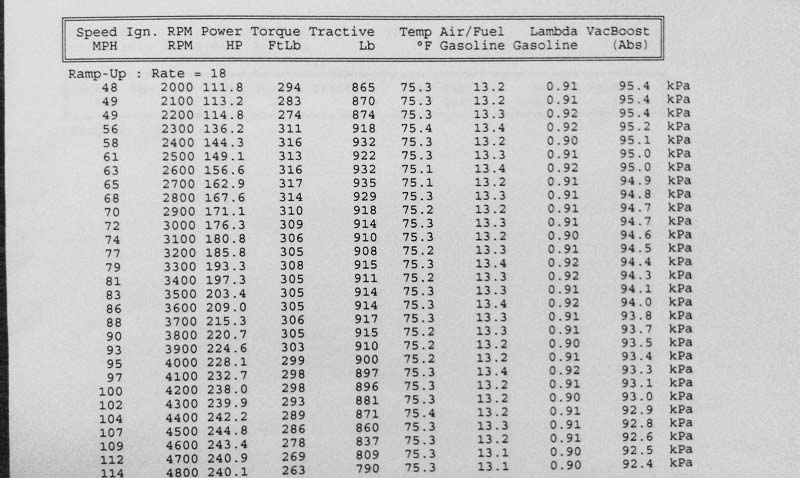
Final pass was 251.3hp and 329lb/tq that translates to over 350hp and 400lb/tq at the flywheel while not outstanding it is defiantly great for what I have done with it.
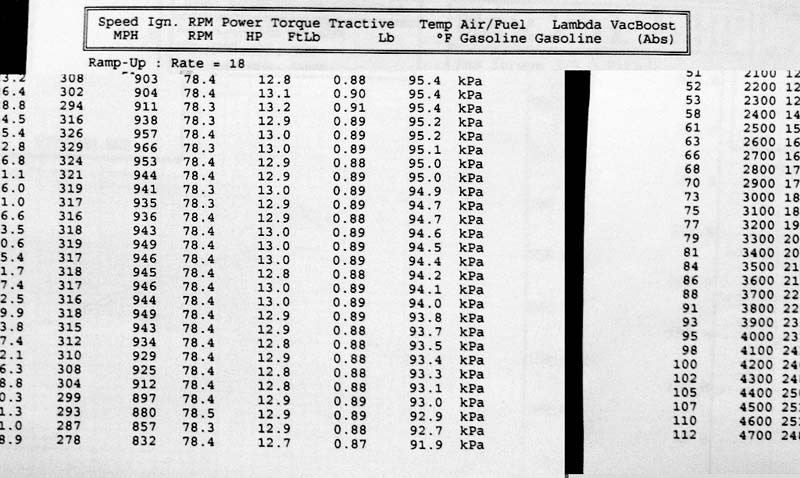
It is kind of hard to read due to the data being distorted.
it is having a slight drivability issue, when the trans shifts, the timing is dropped completely out to “0” causing a stutter like situation, it quickly resets and clears up. LEX is working on this as this is being typed.
Here is the final Dyno run
My many thanks to the people that helped with suggestions and work on the things that I could not do.
First to my youngest son “Josh” at 16 he is a life saver, I had major back surgery during this build, and Josh was my hands, feet and back for most of this project. Not to mention his patience with a cranky old man, LOL! Next; much gratitude to LEXTECH “Jeff” for his technical knowledge, experience, suggestions, that without his help, this project could never have been finished, much less started. I knew what I wanted to do, but Jeff helped me pull it all together and make it go. Then there is the machine shop, Aaron is set up to repeat the work that he did to build my intake, $250 will get it done. He is an excellent machinist with a solid creative streak. And then the Dyno dude, Chris knows his stuff, he is defiantly on his game. It was a pleasure to watch a pro in his element; thanks again Chris the tune is working great.
To comment, discuss, or ask questions about this article, please click here to visit our forum.